
Contractor's Install Sequence When Track Fixing Follows a Late Ceiling
Quick project answer
Review focus: ceiling release.
A late ceiling release rarely arrives as a single event. The suitability of each route and parking arrangement depends on the approved layout, circulation, ceiling interfaces and operating sequence. For a contractor, the useful response is not to start fixing track the moment access appears, but to run a controlled track fixing install sequence late ceiling release that keeps overhead support, panel routes and finish decisions in the right order.
This article sets out a coordination framework for that sequence. It is deliberately bounded: EBUNGE movable wall panels are individually movable, suspended from a top track, cross the opening without a floor track, and park at a planned stacking position. The exact overhead route and support arrangement must be confirmed by the responsible project team from coordinated drawings.
Why a late ceiling release changes the sequence
Project review term: ceiling release.
When the ceiling is released early, the track zone can be surveyed and fixed while other trades are still working elsewhere. When the release is late, the track zone becomes a shared interface: ceiling framing, services, fire-stopping coordination and finish substrates may all be competing for the same strip of overhead space.
The risk is not simply delay. A disciplined sequence protects the opening, the stacking zone and the credibility of your handover documentation.
Step 1: freeze the layout before any fixing
Before fixing, confirm that the current layout is the one you are building to. The exact route, junction arrangement, continuous overhead path and parking position must be confirmed from the coordinated project drawings. Straight, turning and stacking routes are reviewed from the layout, so a route that exists only in conversation is not a route you can install.
Ask for written confirmation of the revision you are working to, and record the date. If the layout is still moving, treat the track zone as unready rather than installing to a superseded drawing.
What the layout review should surface
- The full overhead path from closed position to parking position, including any turn.
- The stacking position and the clear space reserved for parked panels.
- Any pass-door requirement, which can be discussed as part of the opening design.
- Finish selections from the confirmed options: laminate, melamine, fabric, leather, glass and other approved surfaces.
- Points where the overhead route meets ceiling structure, services or changes in ceiling level.
Step 2: confirm overhead support and the ceiling interface
Track fixing is a support question before it is a fixing question.
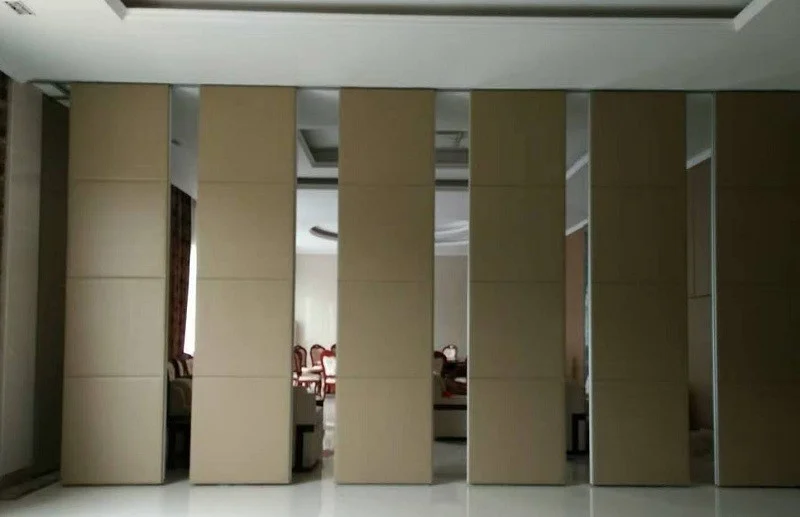
Where the ceiling release is partial, separate the zone into areas that are confirmed and areas that are not. Fix only in confirmed areas. Keep a simple register of open queries so that the site team, the ceiling contractor and the partition supplier are working from the same list.
Evidence note: EBUNGE product information confirms a top-hung system with no continuous floor running track along the partition line. It does not confirm support design, fixing centres, load capacity or ceiling interface details for your building. Those remain project-specific and require review of your own drawings by the responsible parties.
Step 3: set out the route and the stacking position
Setting out is where late releases most often go wrong. If the layout shows a turn, the set-out must reflect that turn rather than a straight line drawn for convenience.
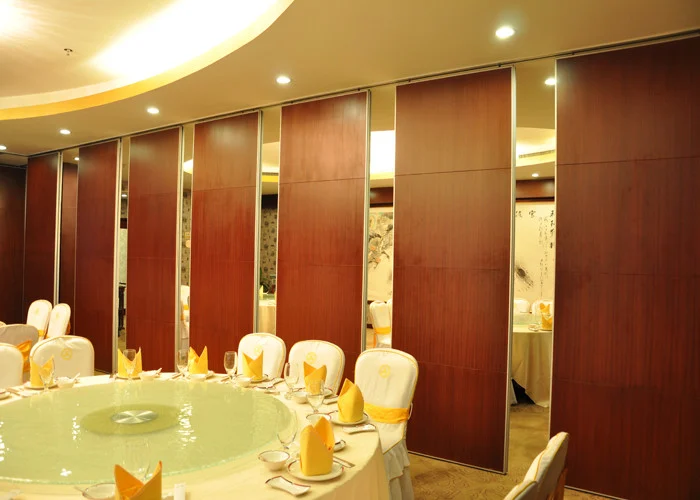
Mark the parking position early. Parking style is customised to the customer layout and project requirements, and compact stacking may be possible when the coordinated design permits it. That coordination depends on the space you reserve now, not on a decision made at handover.
Set-out checklist
- Compare the current layout revision against the issued drawing set.
- Mark the opening line, the full overhead route and any turn.
- Mark the stacking position and confirm the reserved clear space.
- Identify any pass-door location and confirm it is reflected in the opening design discussion.
- Record any deviation between site conditions and the drawing before fixing begins.
Step 4: fix track in confirmed zones only
Once the layout and support interface are confirmed, fixing can proceed zone by zone. Work from confirmed areas outward, and stop at any boundary where the ceiling release is still unresolved.
Keep photographic and written records of what was fixed, to which drawing revision, and on what date. These records matter later when finishes, pass doors and handover documentation are assembled.
Step 5: coordinate finishes and opening details
Finish decisions can run in parallel with track fixing, but they should not be allowed to change the route. Confirmed finish options include laminate, melamine, fabric, leather, glass and other approved surfaces. Each has its own handling and protection considerations on site, and those should be agreed with the supplier rather than assumed.
Pass-door requirements and project documentation can be discussed with EBUNGE as part of the opening design. Raise them before the track set-out is frozen, because a pass door affects how the opening is used and documented.
Step 6: verify, document and hand over
Verification is a review against agreed criteria, not a performance test invented on site. Walk the route, confirm the parking position, check that the opening matches the layout, and confirm that all open queries are closed or formally carried forward.
| Checkpoint | Confirmed by | Record kept |
|---|---|---|
| Layout revision frozen | Design lead and contractor | Drawing revision and date |
| Overhead support interface | Structural and ceiling parties | Signed confirmation or RFI closure |
| Route and stacking set-out | Site team | Marked-up layout and photos |
| Finish and pass-door decisions | Design team and supplier discussion | Documented selections |
Acoustic expectations: concepts, not promises
Seals, junctions, ceiling continuity and the surrounding construction all influence what a completed opening achieves.
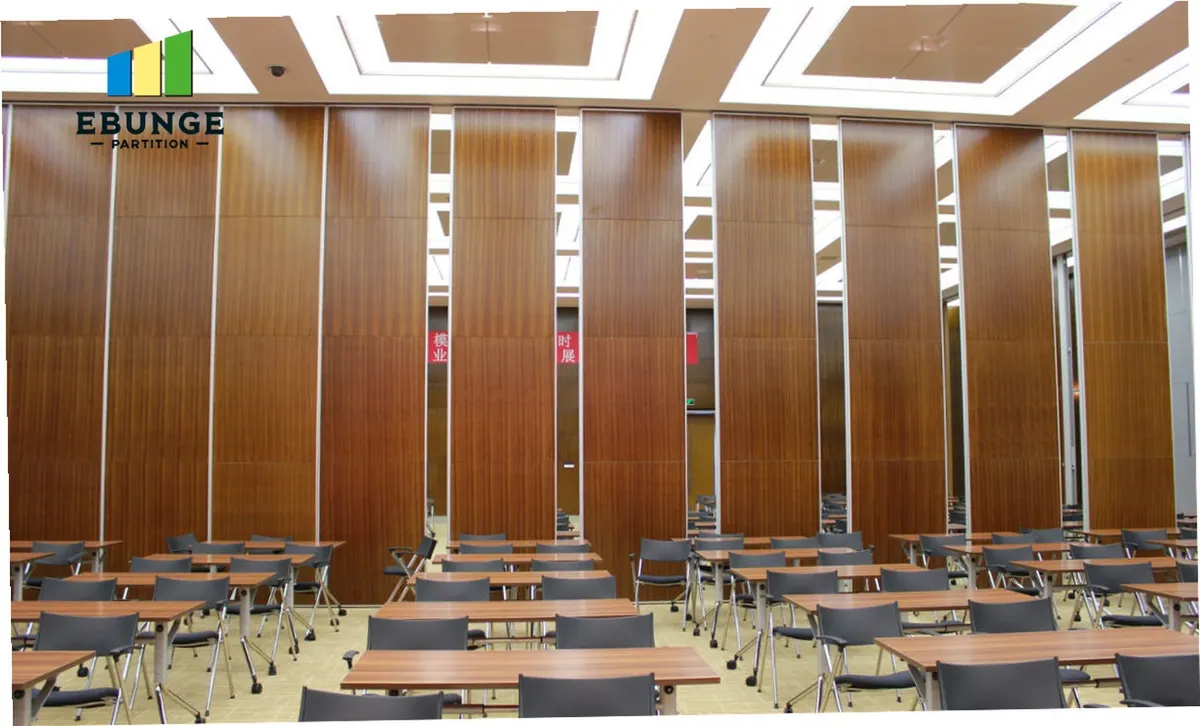
If your project has an acoustic requirement, state it clearly and confirm the project-specific acoustic approach with the responsible parties before fixing track. Visible references can support layout discussion but do not verify hidden construction or performance.
FAQ
Can track fixing start before the ceiling is fully released?
Only in zones where the support interface and layout are confirmed in writing. Unreleased areas should be treated as unready, and the boundary between confirmed and unconfirmed zones should be recorded.
Do the panels need a floor track?
No. EBUNGE movable wall panels are top-hung and cross the opening without a continuous floor running track or floor hardware along the partition line. The overhead route must still be continuous and supported.
Can panels turn a corner on site?
A turn must be shown on the coordinated layout and reflected in the set-out; it cannot be improvised after fixing.
How is the parking position decided?
Parking style is customised to the customer layout and project requirements, and compact stacking may be possible when the coordinated design permits it. Reserve the space on the layout before fixing.
Which finishes can be specified?
Confirmed options include laminate, melamine, fabric, leather, glass and other approved surfaces. Confirm handling and protection requirements for your chosen finish with the supplier.
Can a pass door be included?
Pass-door requirements can be discussed as part of the opening design. Raise them before the track set-out is frozen so the layout and documentation stay consistent.
Conclusion
A late ceiling release rewards contractors who sequence rather than rush. Freeze the layout, confirm the overhead support interface, set out the full route and stacking position, fix only in confirmed zones, and document every decision against a drawing revision. Keep acoustic and dimensional expectations project-specific, and confirm them with the responsible parties rather than inferring them from a drawing or a sample.
Review the EBUNGE movable walls product range for the maintained system facts, and use the planning resources to structure your drawing review. When your layout and ceiling release are ready to discuss, contact the EBUNGE team with your drawings and open queries.