
As an interior designer, you know that a room divider can transform a school classroom, offering flexibility and acoustic control. But before you get to the exciting part of selecting finishes and colors, there’s a critical phase that often gets overlooked: planning storage pockets before site construction starts. This guide is tailored to help you navigate the installation planning process, ensuring your project is quotation-ready and minimizes decision risk. We’ll focus on the practical steps, technical considerations, and how to communicate effectively with manufacturers to achieve a successful outcome.
Direct Answer: To ensure a smooth room divider installation in a school classroom, you must plan storage pockets early. This involves confirming the opening size, acoustic target, finish preference, and having detailed drawings. Work with a factory that offers direct support to coordinate these specifics and avoid costly delays.
Why Storage Pocket Planning Matters for School Classrooms
In a school environment, a room divider is often used to split a large space into two teaching areas. When not in use, the partition must be stored neatly, typically in a wall pocket or ceiling pocket. If this pocket isn’t planned during the construction phase, you’ll face retrofitting challenges, increased costs, and potential structural issues. For interior designers, this is a key decision point that impacts the entire project timeline.
Need help turning the room divider requirements into a practical project layout?
Step 1: Measure the Opening Size Accurately
The first step in planning is to obtain precise measurements of the opening where the room divider will be installed. This includes the width, height, and depth of the pocket space. In schools, doorways and corridors often have specific dimensions, so it’s crucial to verify these against architectural drawings. Remember, the pocket must accommodate the partition when it’s fully stacked, so the depth should be at least the width of the partition panels plus clearance for hardware.
When measuring, consider the floor-to-ceiling height, as any variations can affect the track installation. Use laser measures and double-check your figures. If you’re working with an existing structure, a site survey is essential. For new builds, coordinate with the architect to ensure the pocket is included in the structural plans.
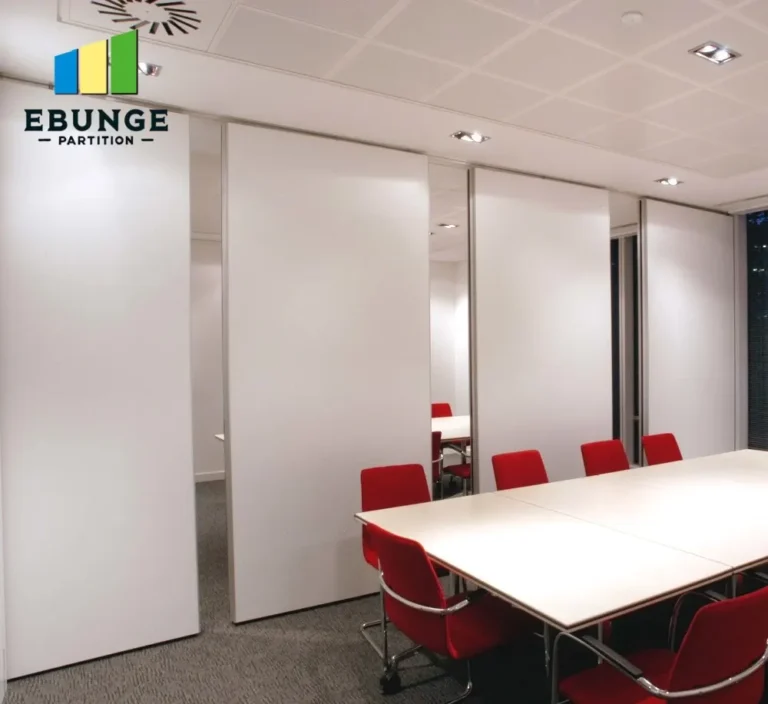
Step 2: Define the Acoustic Target
In a classroom, acoustics are paramount. You need to control sound transfer between the divided spaces to maintain focus and minimize distractions. The acoustic performance of a room divider is measured by its Sound Transmission Class (STC) rating. However, the actual performance depends on the surrounding construction, including the walls, ceiling, and floor. Therefore, you must define the acoustic target based on the specific needs of the school, such as STC 40-45 for typical classroom separation.
To achieve this, the partition must have proper perimeter seals, and the pocket must be designed to maintain the acoustic barrier when the partition is stored. This often requires a specially designed pocket with acoustic lining. Discuss this with the manufacturer to ensure the pocket design doesn’t compromise the partition’s performance.
Step 3: Choose the Finish Preference Early
The finish of your room divider affects both aesthetics and durability. In a school setting, you’ll want a finish that can withstand daily wear and tear, resist scratches, and be easy to clean. Options include laminate, veneer, or even dry-erase surfaces for educational purposes. Your finish choice also impacts the weight and thickness of the panels, which in turn affects the pocket size and track requirements.
Make this decision early and communicate it to the manufacturer. They can advise on the best materials for your application and ensure the pocket is sized accordingly. For instance, a thicker panel with a durable laminate might require a deeper pocket, so planning ahead saves time and money.
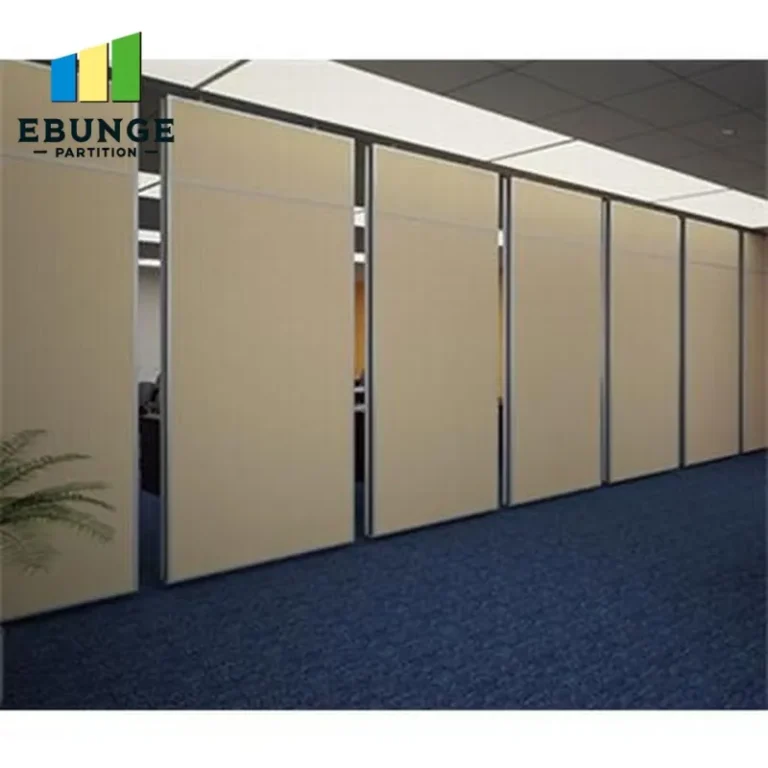
Step 4: Prepare Detailed Drawings
To get an accurate quotation and avoid misunderstandings, you need detailed drawings. These should include the elevation of the partition, the pocket configuration, the track layout, and the ceiling and floor details. If you’re not a draftsperson, work with the manufacturer’s technical team to develop these drawings. They can provide CAD files or shop drawings that show exactly how the system will be installed.
Having these drawings also helps in obtaining building permits and ensuring compliance with local codes. In many jurisdictions, schools must meet specific safety standards, so your drawings must reflect that. The manufacturer can guide you on what’s required.
Step 5: Coordinate with Factory Direct Support
One of the best ways to mitigate risk is to work with a manufacturer that offers factory direct support. This means you have access to their engineers and technical experts who can answer questions, provide guidance, and review your plans. They can also assist with installation, either through training your crew or providing supervision.
Factory direct support is especially valuable when you’re dealing with custom movable partition walls, as they often require specific installation techniques. By coordinating early, you can ensure that the pocket is built to the manufacturer’s specifications, avoiding costly rework.
Step 6: Address Installation Complexity and Safety
In a school, safety is non-negotiable. The room divider must be safe for children, meaning it should have no sharp edges, be stable when in use, and have secure locking mechanisms. The installation must also be done by trained professionals to ensure it’s done correctly. Discuss the installation process with the manufacturer and plan for any special requirements, such as anchoring to the structure or coordinating with other trades.
Consider the installation timeline and how it fits into the school’s schedule. Ideally, you’ll install during summer break or a holiday period to minimize disruption. This requires early planning to ensure the pocket is ready and the partition is delivered on time.
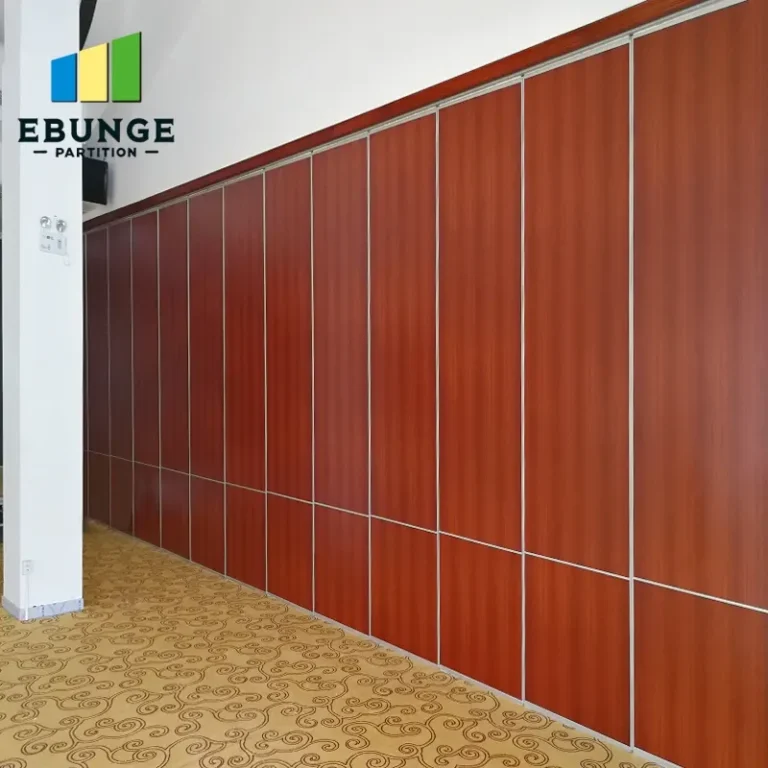
Step 7: Consider Durability and Maintenance
Classrooms are high-traffic areas, so your room divider must be durable. Look for systems that use heavy-duty components, such as reinforced tracks and robust hinges. The pocket itself should be designed to protect the partition when stored, preventing damage from impact or environmental factors.
Maintenance is another key concern. Choose a system that is easy to clean and has accessible components for repairs. Ask the manufacturer about recommended maintenance schedules and whether they offer service contracts. This will help you budget for long-term care.
Share the opening, drawings, finish direction, and privacy target for a project-specific review.
Step 8: Budget and Cost-Effectiveness
While cost is a factor, it shouldn’t be the only one. A well-planned installation can save money in the long run by avoiding errors and rework. Get a detailed quotation that breaks down costs for the partition, track, pocket, installation, and any accessories. Compare this with the value it provides in flexibility and acoustic performance.
Don’t forget to factor in the cost of the pocket itself, which may be part of the construction budget. Early planning ensures that this is accounted for and that you’re not surprised by additional expenses later.
Step 9: Ensure Compliance with Building Codes
Schools must comply with strict building codes, especially regarding fire safety and accessibility. Your room divider should meet these requirements, which may include fire ratings and clearances for wheelchair access. Work with your manufacturer and a local code consultant to ensure your design is compliant.
For example, the partition might need to have a fire-resistance rating if it’s used to separate areas that require it. The pocket design must also not compromise the integrity of fire-rated walls. This is a critical aspect that cannot be overlooked.
Step 10: Finalize and Review
Before placing your order, review all the details with the manufacturer. Confirm the opening size, acoustic target, finish preference, and drawings. Ensure that the pocket is properly sized and that the installation team is ready. Once everything is in order, you can proceed with confidence.
Remember, the key to a successful room divider installation is preparation. By planning storage pockets early and working closely with the manufacturer, you can avoid common pitfalls and deliver a project that meets your client’s needs.
Practical Checklist for Room Divider Installation Planning
Use this checklist to stay on track:
- Measure opening size precisely
- Define acoustic target (STC rating)
- Select finish and confirm panel dimensions
- Create detailed drawings (elevations, pocket details)
- Coordinate with factory direct support
- Plan for safety and installation complexity
- Consider durability and maintenance requirements
- Budget for all components and installation
- Verify compliance with building codes
- Finalize and review with manufacturer
Comparing Room Divider Systems
To help you decide, here’s a comparison of typical features:
| Feature | Option A | Option B |
|---|---|---|
| Track System | Top-hung, no floor rail | Floor-guided |
| Acoustic Performance | STC up to 50 (verify) | STC up to 45 (verify) |
| Finish Options | Laminate, veneer, dry-erase | Laminate, fabric |
| Storage | Wall pocket or ceiling pocket | Wall pocket only |
Always confirm these details with the manufacturer, as specifications vary.
Conclusion
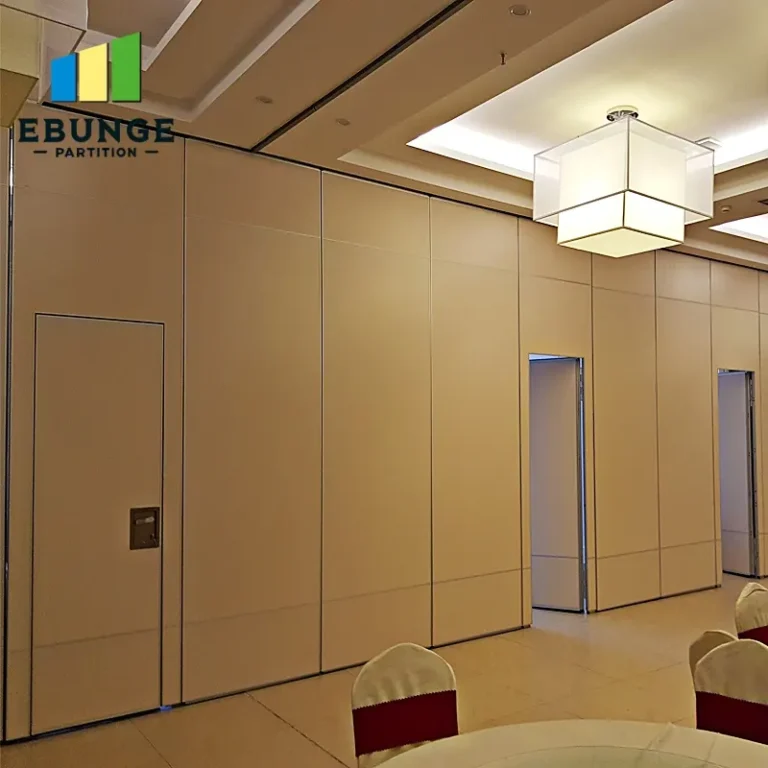
Planning a room divider installation for a school classroom requires careful attention to storage pockets, acoustics, finishes, and safety. By following these steps and working with a manufacturer that offers factory direct support, you can ensure a smooth process and a successful outcome. Remember to keep the focus on the key details: opening size, acoustic target, finish preference, and drawings. With thorough planning, you’ll minimize risks and deliver a space that serves educators and students well.
Frequently Asked Questions
1. Why is planning storage pockets important for a room divider?
Planning storage pockets early ensures that the partition has a designated space to retract into, preventing structural modifications later. In a school, this is crucial for maintaining the integrity of the building and avoiding costly retrofits.
2. How do I determine the right acoustic target for a classroom?
The acoustic target depends on the level of sound isolation needed. Typically, an STC rating of 40-45 is sufficient for classrooms. Consult with an acoustician to assess your specific needs and ensure the partition and pocket design meet the target.
3. Can I install a room divider without a floor rail?
Yes, many modern systems are top-hung, meaning they are suspended from an overhead track and have no floor rail. This is ideal for schools as it eliminates trip hazards and allows for easier cleaning.
4. What finish is best for a school classroom?
Durable finishes like high-pressure laminate or dry-erase surfaces are popular. They withstand wear and tear and are easy to clean. Choose a finish that aligns with the school’s aesthetic and functional needs.
5. How can factory direct support help with my project?
Factory direct support provides access to technical experts who can assist with drawings, installation guidance, and troubleshooting. This ensures that the pocket and partition are installed correctly, reducing the risk of errors.
For more information on movable partition walls, visit our movable partition wall page or explore our blog for insights. To discuss your project, contact us today.
Send the opening size and drawings to discuss a differentiated room divider solution.