
When you are specifying a community acoustic partition installation, the decisions you make before the quote can determine whether the project stays on schedule and within budget. As an architect, you need to balance acoustic performance, structural integration, and operational reliability. This guide walks through the technical and coordination steps that matter most, helping you prepare the information your supplier needs and avoid costly surprises on site.
For a successful community acoustic partition installation, the key is to define your acoustic target, confirm structural support, and establish a clear coordination plan with the supplier early. Share your opening size, ceiling and floor details, and project timeline to get an accurate quotation and smooth installation.
Why Community Acoustic Partition Installation Demands Early Coordination
Community centers are high-traffic, multi-use spaces. Walls must handle frequent operation, robust acoustic performance, and safety compliance. Unlike permanent walls, movable partitions require precise integration with the building structure and MEP systems. Early coordination with your supplier prevents conflicts with lighting, HVAC, and sprinklers, and ensures the top-hung track system is properly supported.
As the architect, you are the bridge between the client’s needs and the contractor’s execution. By asking the right questions during the design phase, you reduce installation risk and set the stage for a smooth handover.
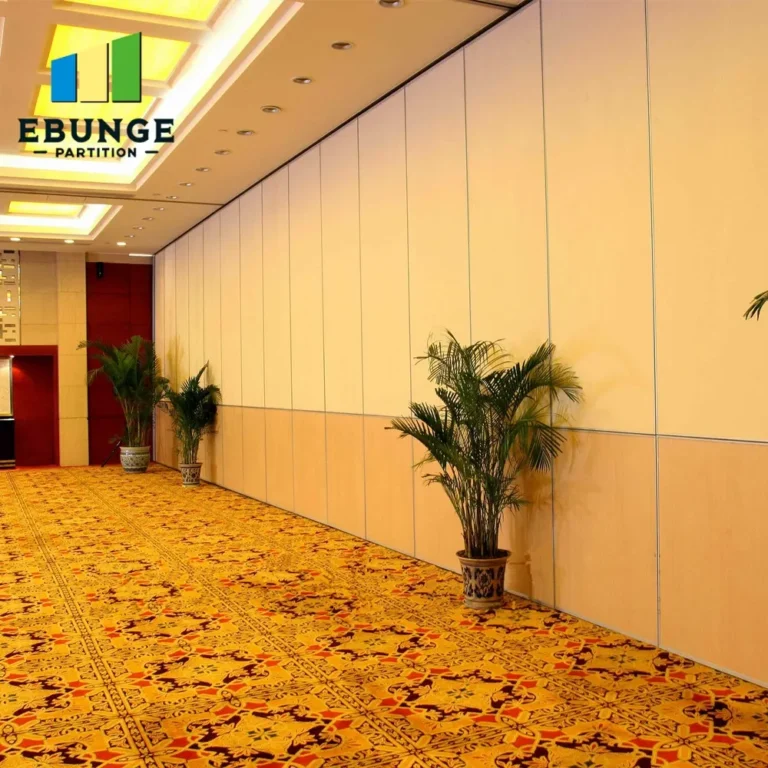
Need help turning the community acoustic partition installation requirements into a practical project layout?
Step 1: Define the Acoustic Performance Target
Before contacting suppliers, determine the required sound insulation class (STC) for each partition. Consider the activities on both sides: a quiet meeting room adjacent to a gymnasium demands a higher rating than two classrooms. Your acoustic consultant can provide a target STC, but you must also consider flanking paths through ceilings, floors, and adjacent walls. A partition is only as good as the weakest path.
During the quotation phase, ask the supplier for the partition’s STC rating under specific test conditions. Ensure the rating matches your project’s requirement and that the installation details will achieve it on site. Avoid assumptions; verify with the supplier’s technical data.
Step 2: Verify Structural Support for the Track System
A top-hung track system transfers the partition’s weight to the overhead structure. You must confirm that the beam or slab can support the load, including dynamic forces during operation. Provide the supplier with the structural drawings and load-bearing capacities. They will specify the track suspension points and required reinforcement if needed.
Do not assume that a standard ceiling grid will suffice. The track must be independently supported to avoid sagging and misalignment. Coordinate with the structural engineer to ensure the support points are integrated into the steel or concrete design. This is a common source of installation delays, so address it early.
Step 3: Plan the Track Layout and Stacking Area
The track layout determines how the partition stacks when open. For community centers, you may want to divide a large hall into smaller rooms or create an open space. The stacking area must be planned to minimize obstruction and allow for future reconfiguration. Consider the ceiling height and the space required for the stacked panels, including clearance for seals and hardware.
Your supplier can provide a layout drawing based on your floor plan. Ensure that the stacking area does not conflict with lighting or ventilation. Also, verify that the track path is straight and level, as curves or slopes require special hardware and increase cost.
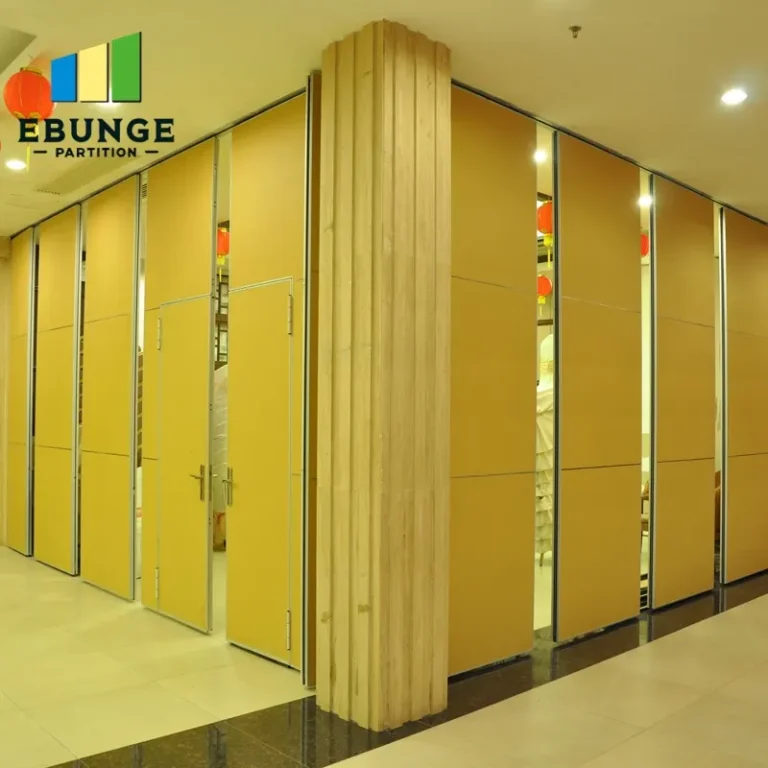
Step 4: Confirm Fire Safety and Egress Compliance
In public buildings, fire safety is non-negotiable. The movable partition may need to act as a smoke barrier or fire compartment. Check local codes for the required fire rating and ensure the partition system, including seals and hardware, meets that rating. The supplier should provide test certificates and installation guidelines that align with the code.
Also, consider emergency egress. If the partition blocks a path of travel, it must be operable from both sides and fail-safe in an emergency. Coordinate with the fire engineer and the local authority to confirm the operation requirements. This is not a detail to overlook.
Step 5: Evaluate Ease of Operation and Long-Term Durability
Community center staff will operate the partition daily. Choose a system that is easy to move and lock, with clear instructions and minimal maintenance. Ask about the durability of seals, rollers, and handles. High-traffic facilities require robust hardware that can withstand frequent use.
Inquire about the warranty and after-sales support. While we do not make specific promises here, a reliable supplier will offer a warranty that covers parts and labor. Ensure that the warranty terms are documented and that the supplier provides training for the maintenance team.
Step 6: Manage the Installation Timeline
Installation should be scheduled after the ceiling and floor finishes are prepared but before final painting and clean-up. Coordinate with the general contractor to ensure that the site is ready: power available, lighting installed, and structural supports in place. The supplier will need a clean, safe working area and access to the ceiling space.
Share the opening, drawings, finish direction, and privacy target for a project-specific review.
Step 7: Prepare for Site Coordination
During installation, you or your representative should be available to answer questions and make decisions. The supplier will need to coordinate with electricians for any power supply to the partition, and with the HVAC team to ensure the track does not interfere with diffusers or sensors. Regular site meetings help resolve issues quickly.
Before installation, provide the supplier with the latest drawings and specifications. Confirm that the opening dimensions match the shop drawings. Any discrepancy should be resolved before fabrication.
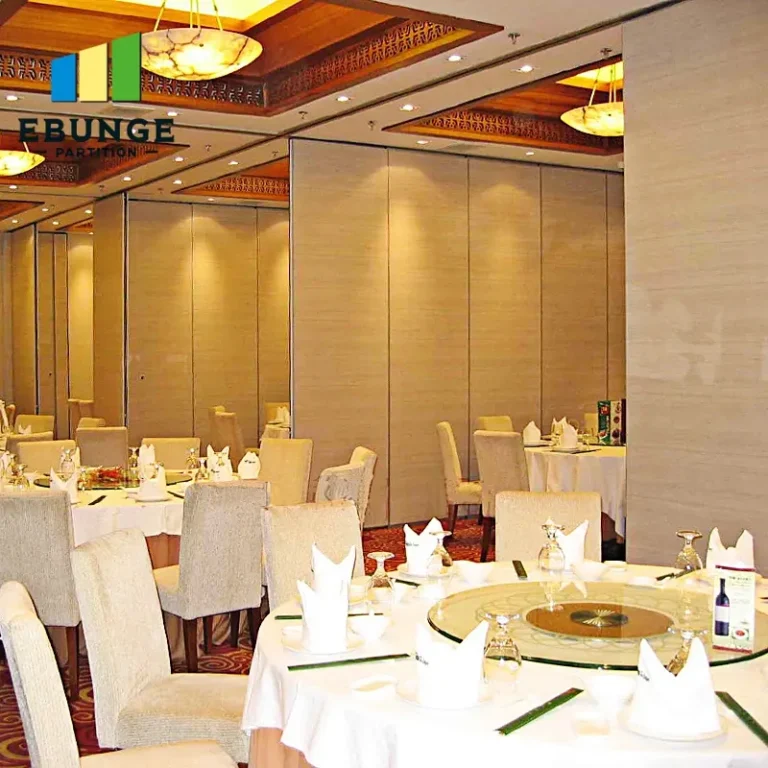
Step 8: Plan for Finishes and Aesthetics
The partition’s finish should match the interior design. Options include laminate, veneer, or painted surfaces. Specify the finish on both sides, as they may differ. The supplier will need to know the color and texture to order materials. Also, consider how the partition integrates with adjacent walls and doors. The goal is a seamless look that enhances the space.
Step 9: Request a Detailed Quotation and Technical Documentation
When you are ready to get quotes, provide the supplier with a complete package: floor plans, elevations, section details, acoustic target, and finish specifications. Ask for a quotation that includes the partition system, installation, and any necessary reinforcement. The quote should list all components and services, so you can compare accurately.
Request technical drawings, installation manuals, and certificates. Review them carefully to ensure they meet your project requirements. If something is unclear, ask for clarification. A reputable supplier will be transparent.
Checklist for Your Community Acoustic Partition Installation
| Item | Details to Confirm |
|---|---|
| Acoustic target | STC rating required, test conditions, flanking paths |
| Structural support | Beam/slab capacity, track suspension points, reinforcement |
| Track layout | Stacking area, clearances, straightness, level |
| Fire safety | Fire rating, smoke seals, egress operation |
| Operation | Ease of use, durability, maintenance, warranty |
| Timeline | Site readiness, installation schedule, coordination |
| Finishes | Material, color, both sides, integration |
| Documentation | Quotation, drawings, certificates, manuals |
Frequently Asked Questions
What is the typical installation time for a movable partition in a community center?
Installation time varies based on the number of panels, complexity, and site readiness. For a standard project, it may take several days to a week. Your supplier should provide a schedule after reviewing your project specifics.
Can a movable partition be installed without floor rails?
Yes, many top-hung systems operate without floor rails, offering a flush floor finish and easier cleaning. This is a common choice for community centers.
How do I ensure the acoustic performance is achieved on site?
Proper installation is critical. Ensure that perimeter seals are correctly adjusted and that all gaps are sealed. The supplier’s installation crew should be experienced, and you should conduct a sound test after installation to verify the STC rating.
What information does the supplier need for a quotation?
You should provide the opening size (width and height), ceiling height, floor and ceiling construction details, acoustic target, finish preference, and the project location. Also, share any drawings or specifications.
Are movable partitions fire-rated?
Some systems are available with fire ratings. Check with your supplier and local codes to determine the required rating for your application.
Next Steps for Your Project
Community acoustic partition installation is a complex process, but with careful planning and clear communication, you can achieve a functional and beautiful space. Start by gathering your project details and consulting with a specialist. For more insights on movable partition walls, explore our movable partition wall resources and blog articles. When you are ready, contact us to discuss your project.
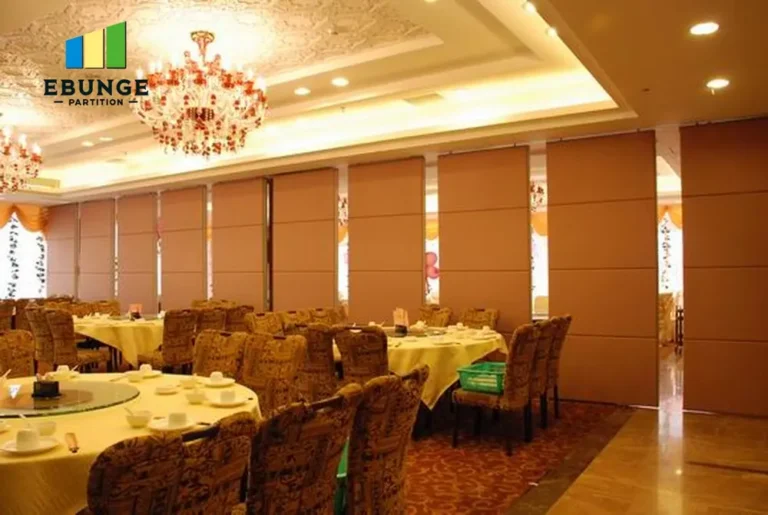
Send the opening size and drawings to discuss a differentiated community acoustic partition installation solution.