
For overseas partition dealers, quoting a movable partition wall for a community center project involves more than checking dimensions. The real challenge is aligning the partition system with the interior design vision while managing project risks. When finishes don’t match, or the acoustic target isn’t met, the dealer bears the brunt of rework and delays. This article focuses on how to prepare a quotation that reduces decision risk by addressing opening size, acoustic targets, finish preferences, and drawings—while leveraging factory-direct support to ensure the movable partition wall integrates seamlessly.
Direct Answer: To reduce risk in movable partition wall projects, overseas dealers should standardize a quotation process that requires exact opening dimensions, acoustic performance targets, finish samples, and detailed drawings from the client. This ensures the partition system meets design requirements and avoids costly mismatches. Factory-direct support for customization and installation guidance further mitigates risks.
Movable Partition Wall: Why Community Center Projects Need Special Attention
Community centers are multi-purpose spaces that host events, classes, and meetings. They require flexible room division without compromising on aesthetics. Unlike office partitions, these projects often involve high ceilings, irregular floor plans, and strict acoustic needs. The movable partition wall must not only function reliably but also enhance the interior design. As a dealer, you are the bridge between the client’s vision and the product’s capabilities. A mismatch here can lead to scope creep, budget overruns, and damaged credibility.
One common pitfall is assuming that a standard partition system will fit. In reality, each project has unique dimensions and design cues. By collecting specific data upfront, you can avoid surprises during installation. This article outlines a step-by-step approach to quotation readiness, ensuring you ask the right questions and provide accurate proposals.
Need help turning the movable partition wall requirements into a practical project layout?
Step 1: Gather Precise Opening Size and Structural Details
The first step is to obtain exact measurements of the opening where the movable partition wall will be installed. This includes width, height, and depth, as well as ceiling and floor conditions. For top-hung systems, which we specialize in, the ceiling must support the track load. Ask for structural drawings or conduct a site survey if possible. The opening size directly affects the number of panels, stacking space, and track length. Inaccurate measurements can lead to ill-fitting panels and acoustic leaks.
Also, note any obstructions like columns, beams, or HVAC ducts. These may require custom track routing or panel modifications. By documenting these details, you can provide a more accurate quotation and reduce change orders later.
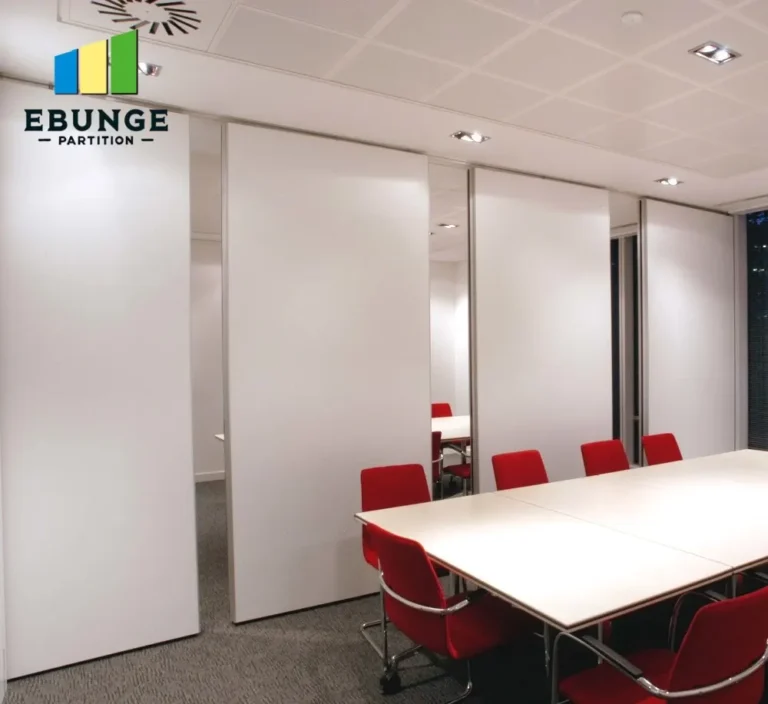
Step 2: Define Acoustic Targets and Partition Wall System Requirements
Acoustic performance is critical in community centers. The partition must minimize sound transmission between spaces. Ask the client for their desired acoustic rating, typically measured in Rw (weighted sound reduction index) or STC (Sound Transmission Class). Common targets range from Rw 40 to Rw 50 for standard rooms, but some spaces may require higher. Without a clear target, you might underspecify the partition, leading to complaints, or overspecify, increasing costs unnecessarily.
In your quotation, specify the partition wall system’s configuration, including panel thickness, seals, and glazing if any. Mention that acoustic performance depends on proper installation and perimeter sealing. This sets realistic expectations and positions you as a knowledgeable partner.
Step 3: Align Finish Preferences with Interior Design
Finishes are a major pain point for overseas dealers. The movable partition wall must complement the interior design, whether it’s a modern minimalist look or a warm traditional feel. Request finish samples or color codes from the client. Common options include laminate, veneer, fabric, or painted surfaces. If the client has a specific brand or material, note it in the quotation. For custom finishes, factory-direct support allows you to get exact matches, but this may extend lead times.
In the quotation, clearly state the finish type and any limitations. For example, some finishes are not suitable for high-traffic areas. Offer alternatives if needed. By addressing finishes upfront, you avoid last-minute changes that delay production.
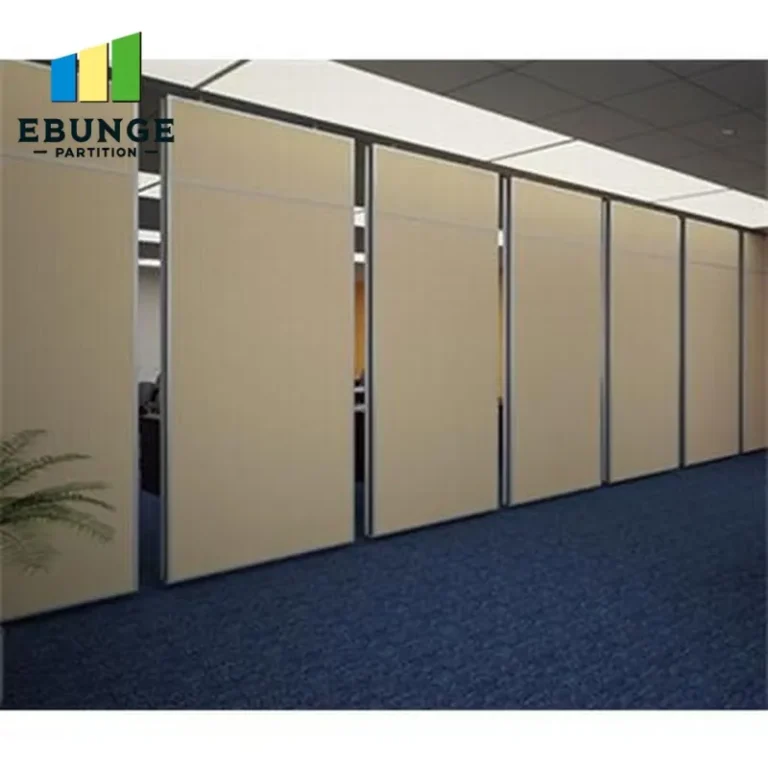
Step 4: Request and Review Drawings Before Quoting
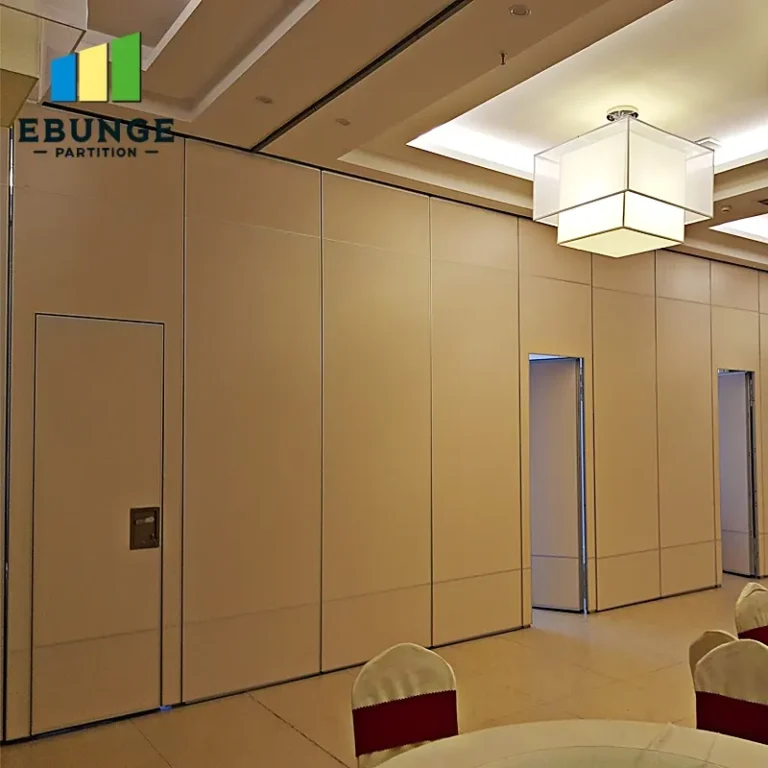
Drawings are the blueprint for your quotation. They show the partition’s location, stacking area, and integration with doors and windows. Ask the client for architectural or interior design drawings. If they are not available, offer to create basic layout drawings based on the information gathered. This step is crucial for identifying potential issues, such as insufficient stacking space or conflicts with electrical outlets.
Your quotation should reference the drawing revision number and date to avoid confusion. If changes occur, update the quotation accordingly. This practice reduces disputes and ensures both parties are on the same page.
Step 5: Leverage Factory-Direct Support for Customization
As an overseas dealer, you may not have direct access to engineers. However, by partnering with a factory that offers direct support, you can get technical advice on complex projects. For instance, if the opening is unusually large or the acoustic target is high, the factory can recommend panel configurations and materials. This support is invaluable in reducing risk.
In your quotation, mention that factory-direct support is available for installation guidance and troubleshooting. This reassures the client that they have a reliable partner. It also helps you avoid miscommunications that often occur when dealing with intermediaries.
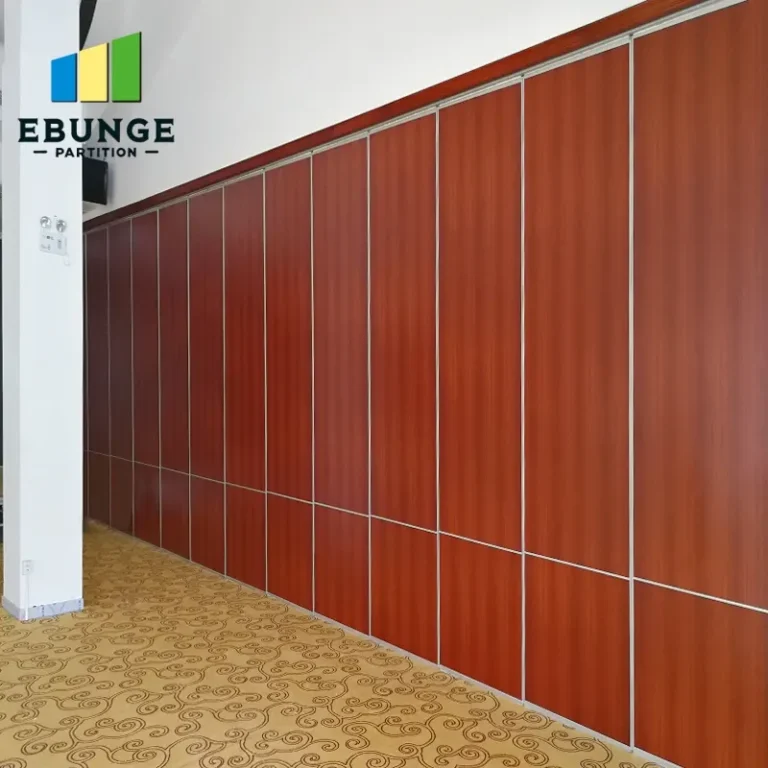
Share the opening, drawings, finish direction, and privacy target for a project-specific review.
Step 6: Structure the Quotation to Address Buyer Concerns
Your quotation should be transparent and address common concerns: product reliability, installation complexity, supplier credibility, cost transparency, warranty coverage, shipping damages, and compatibility with existing structures. Break down costs into clear line items: panels, track, seals, hardware, delivery, and installation (if applicable). State the warranty terms explicitly, but avoid inventing specific coverage. Instead, say “Warranty details are provided in the contract.” This builds trust.
Also, include a section on installation requirements, such as ceiling load capacity and electrical needs. If the project requires special permits or compliance, note that it is the client’s responsibility. This prevents scope creep.
Step 7: Provide a Comparison Table for Decision-Making
A comparison table helps clients understand their options. For example, you can compare different partition configurations based on acoustic rating, finish options, and cost. This empowers the client to make an informed decision, reducing the risk of post-quotation changes.
| Configuration | Acoustic Rating (Rw) | Finish Options | Relative Cost |
|---|---|---|---|
| Standard | 40 | Laminate | $$ |
| Enhanced | 45 | Veneer | $$$ |
| Premium | 50 | Fabric | $$$$ |
Note that these are indicative values; actual performance depends on installation and site conditions.
Checklist for Quotation Readiness
- Exact opening width, height, and depth
- Ceiling type and load capacity
- Acoustic target (Rw or STC value)
- Finish samples or color codes
- Architectural drawings with revision
- Stacking area dimensions
- Integration points (doors, windows)
- Delivery location and access constraints
- Warranty expectations
- Installation timeline
Conclusion
Reducing risk in movable partition wall projects starts with a thorough quotation process. By gathering precise data and aligning with the client’s design and acoustic needs, you can provide a proposal that stands up to scrutiny. Factory-direct support ensures you have the technical backing to handle custom requirements. This approach not only minimizes project risks but also strengthens your reputation as a reliable dealer.
For more insights on movable partition wall systems and cost considerations, explore our movable partition wall resources or read our blog articles. If you need assistance with a specific project, contact us for factory-direct support.
Frequently Asked Questions
What information is essential for a movable partition wall quotation?
You need exact opening dimensions, ceiling details, acoustic target, finish preferences, and drawings. This helps ensure the system fits and performs as expected.
How do I choose the right acoustic rating for a community center?
Consider the activities in adjacent spaces. For general use, Rw 45 is common. For music rooms or theaters, you may need Rw 50 or higher. Consult with the client and acoustic consultant.
Can I get custom finishes for a movable partition wall?
Yes, many factories offer custom finishes like veneer or fabric. Provide a sample or color code to ensure a match. Custom finishes may increase cost and lead time.
What is the typical lead time for a movable partition wall?
Lead time varies based on configuration and customization. Standard systems may ship in 4-6 weeks, while custom projects can take longer. Always confirm with the factory.
How can I ensure the partition is compatible with existing structures?
Review structural drawings and conduct a site survey if possible. Check ceiling load capacity and wall conditions. The factory can advise on necessary reinforcements.
Send the opening size and drawings to discuss a differentiated movable partition wall solution.