
Maintenance Access Planning When a Track Run Passes Above a Locked
Quick project answer
Review focus: locked ceiling.
Track run maintenance access locked ceiling planning is one of the earliest coordination tasks a project team can resolve, yet it is often deferred until the ceiling is closed. When a movable partition is top-hung, the panels travel beneath a track that sits above the finished ceiling line. If that ceiling is locked, the route above it becomes difficult to inspect or reach later. This article sets out a drawing-led framework for overseas contractors, architects, interior designers, owners and renovation teams who need to coordinate that zone without assuming performance that has not been confirmed.
Why the Locked Ceiling Changes the Conversation
Project review term: locked ceiling.
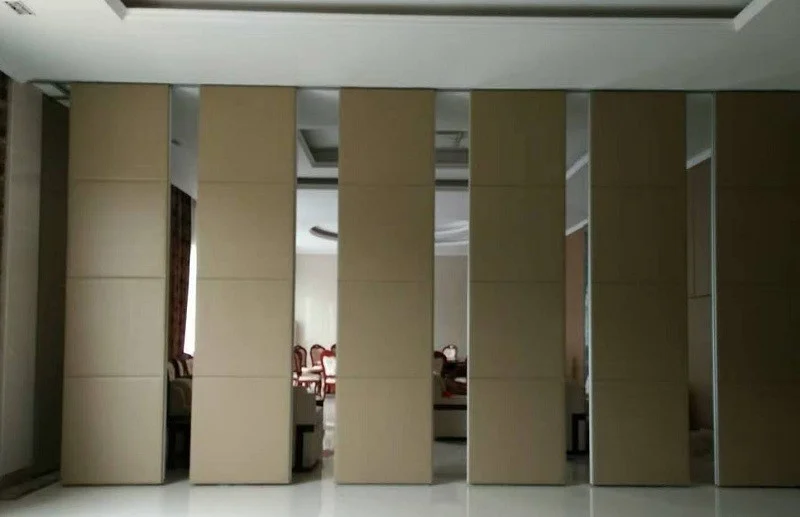
EBUNGE movable wall panels are individually movable and suspended from a top track. They cross the opening without a floor track and park at a planned stacking position. That arrangement keeps the floor clear, but it places the operating route overhead. A locked ceiling is not a defect in itself; it simply means the access strategy must be settled before the ceiling is closed, because later changes are usually more disruptive.
The exact overhead route and support arrangement must be confirmed by the responsible project team from coordinated drawings. Those answers belong in the coordinated drawing set, not in a verbal assumption on site.
Start With the Route, Not the Ceiling Detail
Coordination scope: locked ceiling.
Straight, turning and stacking routes are reviewed from the layout. Each route has its own geometry, and each may pass over different ceiling zones, corridors or adjacent rooms. Before access panels are positioned, the team should trace the full route on plan and confirm that every proposed movement path follows a continuous connected overhead route with project-specific support review.
Draw the route in plan and section
A plan view shows where the track crosses ceilings and walls. A section shows the vertical relationship between the track, the ceiling and the structure above. Both are needed, because a route that looks simple in plan may pass through a congested ceiling void.
Mark the parking and stacking zone
Parking style is customized to the customer layout and project requirements, and may support compact stacking when the coordinated design permits it. The stacking position deserves the same access review as the running route, since panels gather there when the opening is clear.
Coordinate Access Points With the Ceiling Design
Checklist focus: locked ceiling.
Access planning is a shared responsibility. The ceiling designer, the partition supplier and the main contractor each hold part of the picture. A useful coordination meeting uses the same drawing revision and records decisions in writing.
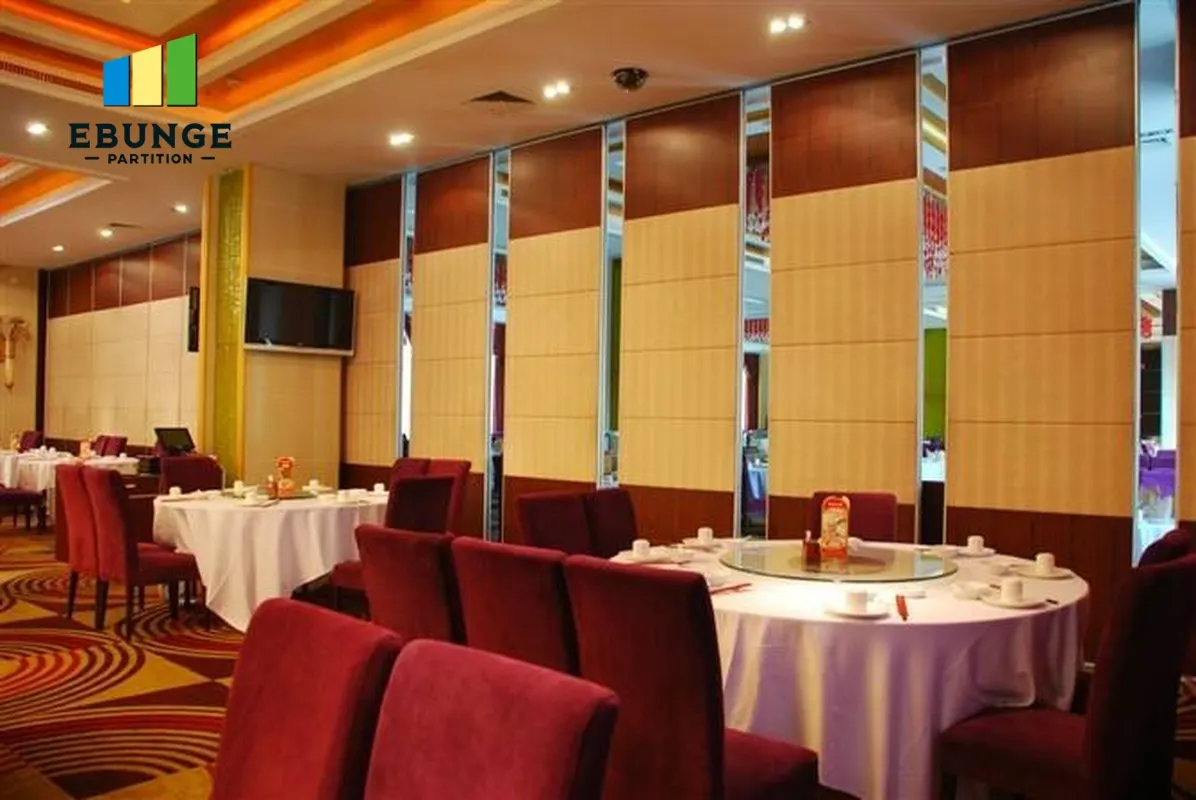
- Ceiling zones: identify which areas are locked and which remain accessible.
- Route crossings: note where the track passes from one ceiling zone to another.
- Inspection locations: agree where access is genuinely required and why.
- Finish interfaces: check how access points meet surrounding ceiling finishes.
- Revision control: confirm that all parties work from the same issued drawings.
This list is a coordination aid, not a specification. The final arrangement must be confirmed against the project drawings and the requirements of the appointed designers and contractors.
A Step-by-Step Review Sequence
- Collect the current architectural, ceiling and partition drawings, including reflected ceiling plans.
- Trace the full track route, including turns and the planned stacking position.
- Identify every ceiling zone the route passes beneath and mark which are locked.
- Agree, with the responsible designers, where access is needed and how it will be reached.
- The suitability of each route and parking arrangement depends on the approved layout, circulation, ceiling interfaces and operating sequence.
- Record the agreed arrangement in the drawing set and issue it to all relevant parties.
- Re-check the arrangement whenever the layout, ceiling or route changes.
Following a sequence does not guarantee an outcome. It does make assumptions visible, which is the point of early planning.
Finish Choices and the Access Interface
Confirmed finish options include laminate, melamine, fabric, leather, glass and other approved surfaces. These choices affect the visible face of the partition and, in some cases, the surrounding ceiling detail.
Where an access point sits close to a partition head, the team should check how the ceiling finish terminates and whether the junction remains visually consistent.
Seals, Acoustics and the Limits of Visible Evidence
Acoustic separation in movable partitions depends on how the system is detailed and installed, including the treatment of junctions and seals.
Visible geometry, finish samples and drawings do not prove acoustic, fire, durability, load or maintenance performance. Those claims require matching project evidence.
Access planning can affect acoustic continuity if an opening in a ceiling interrupts a carefully detailed junction. That is a reason to coordinate early, not a reason to assume a particular result. Acoustic requirements should be confirmed for the specific project with the responsible acoustic and design team.
Documentation and Pass-Door Requirements
Pass-door requirements and project documentation can be discussed with the supplier as part of the wider coordination. A pass door introduces an additional element in the partition line, and its position may influence how the route and access points are arranged.
| Item to confirm | Who typically holds the information | Why it matters |
|---|---|---|
| Track route and turns | Partition supplier and architect | Defines the overhead zone to review |
| Locked ceiling extents | Ceiling designer and contractor | Shows where access is constrained |
| Access locations | Design team and owner | Agrees how the route can be reached |
| Pass-door position | Architect and supplier | Affects the partition line and route |
| Finish interfaces | Interior designer | Keeps junctions visually consistent |
Use this table as a prompt for discussion. It does not replace the project specification or the advice of appointed professionals.
Common Coordination Gaps to Avoid
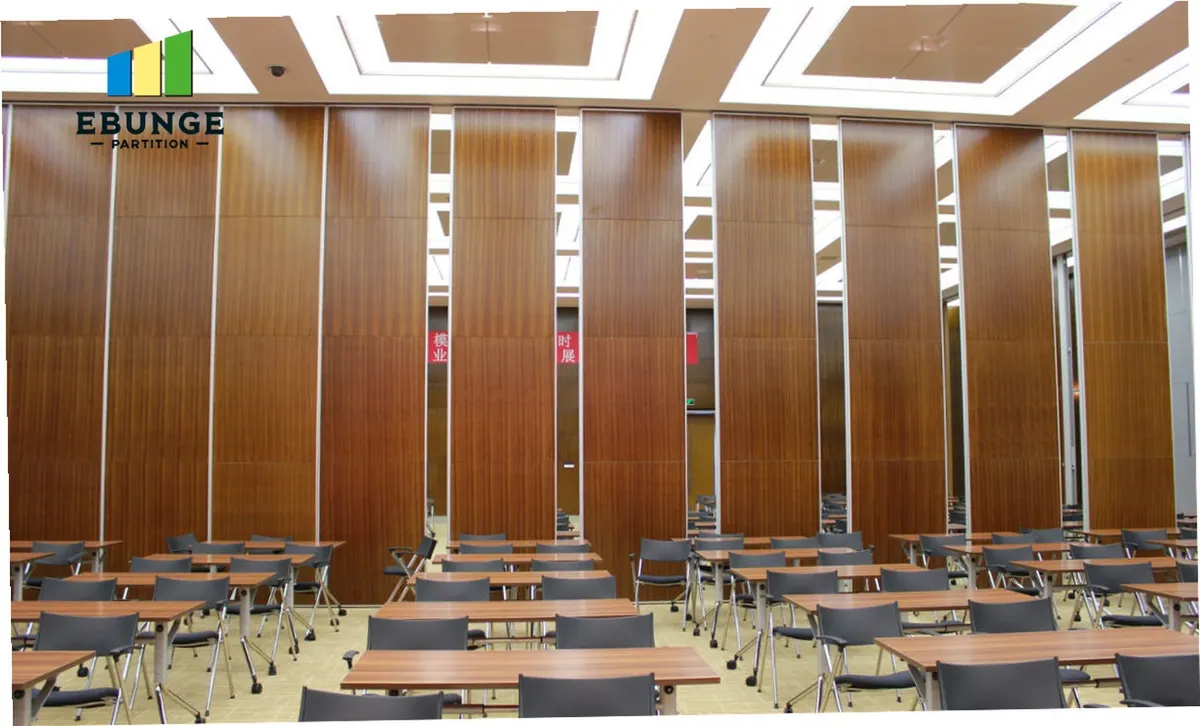
Most difficulties arise from timing rather than complexity. A ceiling closed before the route is reviewed, a stacking position moved without updating the drawings, or an access point placed without checking services above are all familiar patterns. Each can be reduced by keeping the route drawing current and sharing it with everyone who touches the ceiling zone.
Teams should also avoid treating a supplier’s general product information as a project-specific engineering conclusion. The maintained product facts describe how panels move and park; they do not define support points, loads or access dimensions for a given building.
Frequently Asked Questions
Who should lead track run maintenance access planning?
The design team usually coordinates it, with input from the ceiling designer, the partition supplier and the main contractor. Responsibilities should be agreed in writing at the outset.
Can access be planned after the ceiling is closed?
Later changes may be possible, but they are usually more disruptive and depend on the specific ceiling construction and project constraints.
Does a locked ceiling affect acoustic performance?
Any acoustic requirement should be confirmed for the specific project rather than inferred from the ceiling type.
Are access points needed along the whole track run?
That depends on the route, the ceiling zones and the project’s maintenance strategy. The requirement should be agreed from the drawings, not assumed from a generic rule.
Can the stacking position be changed later?
Parking style is customized to the layout and project requirements. Any change should be reviewed against the route, the ceiling and the supporting structure before it is adopted.
What information should be sent for review?
Current layout drawings, reflected ceiling plans, route information and any pass-door requirements are a useful starting point. The project team should confirm what else is needed.
Conclusion and Next Steps
Keep every recommendation tied to confirmed product facts and project-specific review, and confirm support, acoustic and dimensional requirements with the responsible professionals before work proceeds.
Review the movable wall systems for product context, browse the planning resources for further guidance, and contact the team to discuss your layout, route and documentation requirements.