
Quick answer: installation track zone readiness walkthrough
Review focus: installation track zone readiness walkthrough.
Mobilizing an installation crew before the overhead track zone is ready creates avoidable rework, access conflicts and schedule pressure. This movable partition pre-installation track zone readiness walkthrough gives overseas contractors, architects and project managers a structured method to inspect the route, record deficiencies and clear them before panels arrive. It is a coordination tool, not a substitute for project-specific engineering, acoustic or dimensional confirmation.
Why a Track Zone Walkthrough Belongs in Contractor Installation Planning
Project review term: installation track zone readiness walkthrough.
Movable partition panels are individually movable, suspended from a top track, cross the opening without a floor track, and park at a planned stacking position. Because the panels depend on an overhead route, the track zone is a shared interface between structure, ceiling, finishes and adjacent trades. A walkthrough converts assumptions into visible, recorded conditions.
The suitability of each route and parking arrangement depends on the approved layout, circulation, ceiling interfaces and operating sequence. It confirms that the conditions shown on current drawings can be observed on site, and it flags gaps for the responsible discipline to resolve. Every project still requires confirmation of support, acoustic and dimensional requirements.
Assemble the Current Document Set Before Visiting Site
Coordination scope: installation track zone readiness walkthrough.
Arrive with the latest coordinated layout showing straight, turning and stacking routes. Confirm that the drawing set identifies the opening, the parking position and any pass-door requirement. If a pass-door is needed, discuss it early because it affects panel sequencing and route planning.
Mark the revision date on each sheet. A walkthrough based on superseded drawings produces a deficiency register that no one can close.
Walk the Route in the Same Order the Panels Will Travel
Checklist focus: installation track zone readiness walkthrough.
Start at the closed position and follow the path to the parking location. At each change of direction, note whether the overhead route remains continuous and connected. The exact route, junction arrangement, continuous overhead path and parking position must be confirmed from the coordinated project drawings.
Record what you can see: ceiling openings, obstructions, unfinished soffits, temporary services and stored materials. Visible references can support layout discussion but do not verify hidden construction or performance. If a condition is concealed, mark it as requiring verification rather than assuming it is acceptable.
Deficiency Clearance Register: Turn Observations into Actions
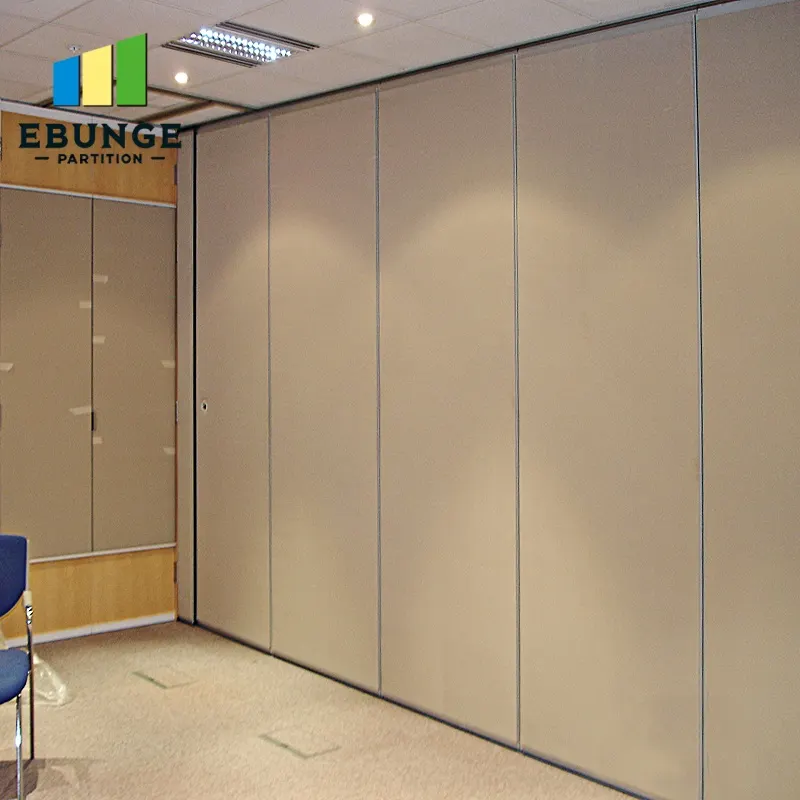
Review focus: installation track zone readiness walkthrough.
A deficiency clearance register keeps the walkthrough useful after the site visit. Keep it simple and assign each item to a discipline with a target clearance date. The register is a living document, not a one-time checklist.
| Register field | What to record | Why it matters |
|---|---|---|
| Location | Grid line, room name or route segment | Prevents vague descriptions that cannot be verified |
| Observed condition | What is visibly present or missing | Separates evidence from assumption |
| Drawing reference | Sheet number and revision | Links the item to the current design intent |
| Responsible party | Trade or discipline owner | Creates clear accountability |
| Clearance action | What must be completed or confirmed | Defines the close-out condition |
| Status | Open, in progress or cleared | Supports pre-mobilization decisions |
Route Types and What to Check at Each Stage
Straight runs
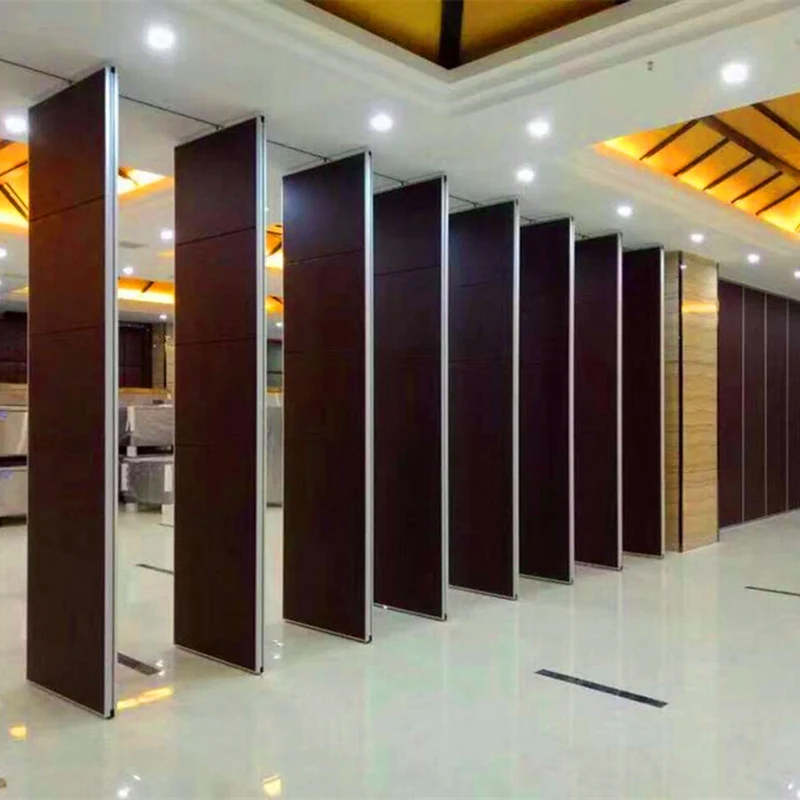
Check that the overhead route is continuous across the full opening. Note any ceiling features, light fittings or service drops that interrupt the zone. Confirm that the planned parking position is reachable without reversing through an obstruction.
Turning routes
At each turn, verify that the route geometry shown on the layout can be followed on site. Record any conflict and confirm the coordinated solution before installation.
Stacking positions
Parking style is customized to the customer layout and project requirements and may support compact stacking when the coordinated design permits it. Check that the stacking zone is clear, accessible and consistent with the approved layout. Do not assume a stacking arrangement from a generic example.
Finish, Pass-Door and Interface Coordination
Confirmed finish options include laminate, melamine, fabric, leather, glass and other approved surfaces. Finish selection can affect handling and protection planning, but it does not by itself confirm acoustic, fire or durability performance. Those attributes require matching project evidence.
Pass-door requirements and project documentation can be discussed with the supplier. If a pass door is part of the design, confirm its position, swing and interface with the panel route. Also coordinate with ceiling, sprinkler, lighting and HVAC trades whose work occupies the same zone.
Evidence Boundaries: What the Walkthrough Can and Cannot Confirm
The walkthrough confirms visible readiness of the track zone against current drawings.
Where a condition cannot be seen, record it as requiring verification. Where a performance target is required, confirm it through the project-specific acoustic and engineering documentation.
Pre-Mobilization Decision Checklist
- Current coordinated layout available and marked with revision date.
- Straight, turning and stacking routes reviewed against site conditions.
- Overhead route confirmed as continuous and connected for the proposed path.
- Parking position clear and consistent with the approved layout.
- Pass-door requirement identified and coordinated.
- Deficiency clearance register opened with owners and dates.
- Project-specific support, acoustic and dimensional requirements confirmed.
Frequently Asked Questions
What is a movable partition pre-installation track zone readiness walkthrough?
It is a structured site inspection that checks whether the overhead track zone, route and parking position match the current coordinated drawings before installation crews mobilize. It records visible conditions and open items for clearance.
Does the walkthrough confirm acoustic performance?
No. The walkthrough only confirms visible readiness and flags items that require verification by the responsible discipline.
Can panels cross an untracked gap?
No. Every proposed movement path requires a continuous connected overhead route and project-specific support review. If the route is interrupted, the layout must be revised or the condition resolved before installation.
Which finishes can be considered?
Confirmed finish options include laminate, melamine, fabric, leather, glass and other approved surfaces. Finish choice should be confirmed against the project specification and coordinated with handling and protection planning.
How should deficiencies be tracked?
Use a deficiency clearance register with location, observed condition, drawing reference, responsible party, clearance action and status. Review it at pre-mobilization meetings until every item is cleared or formally accepted.
What should be confirmed before crews arrive?
Confirm project-specific support, acoustic and dimensional requirements, the current drawing revision, route continuity, parking position and pass-door coordination. Also confirm that the register has no unresolved items that would block installation.
Conclusion: Clear the Track Zone Before You Mobilize
A disciplined walkthrough and a live deficiency clearance register reduce the risk of discovering route conflicts after crews and materials are on site. Use the checklist above, keep evidence boundaries visible, and confirm every project-specific requirement with the responsible parties. For layout review, finish options and pass-door coordination, contact the EBUNGE team to discuss your project documentation.
Explore movable wall systems and the project resources for further planning context.