
When planning a school sliding partition installation, the difference between a smooth project and a costly disruption often comes down to how well you prepare the technical and logistical details before the contractor arrives. As an interior designer, you are the bridge between the school’s vision and the operable wall system that must perform daily for years. This guide focuses on the installation phase, giving you the precise questions to ask, the drawings to request, and the site conditions to verify—so your quotation is accurate and your timeline is realistic. We’ll cover beam support, track layout, acoustic insulation, fire safety, and coordination with other trades, all tailored to school hall applications.
Direct answer: For a successful school sliding partition installation, you must confirm the structural beam capacity, top-hung track layout, acoustic and fire ratings, and site coordination plan before ordering. Share your opening size, ceiling height, wall construction, and desired finish with your supplier to get a precise quotation and avoid installation delays.
Understanding the Structural Requirements for Top-Hung Systems
Most school hall partitions use a top-hung track system, where the entire weight of the operable wall is borne by the overhead structure. This eliminates the need for a floor rail, which is a major advantage for accessibility and safety. However, it places a critical demand on the building’s beam support. The steel beams or concrete slab must be capable of carrying not only the static weight of the partition panels but also the dynamic loads during operation. As a designer, you should request the structural drawings of the hall and verify the load capacity with a structural engineer. The supplier’s installation team will need to fix the track to the structure using approved anchors, so any false ceilings or ductwork that could interfere must be identified early.
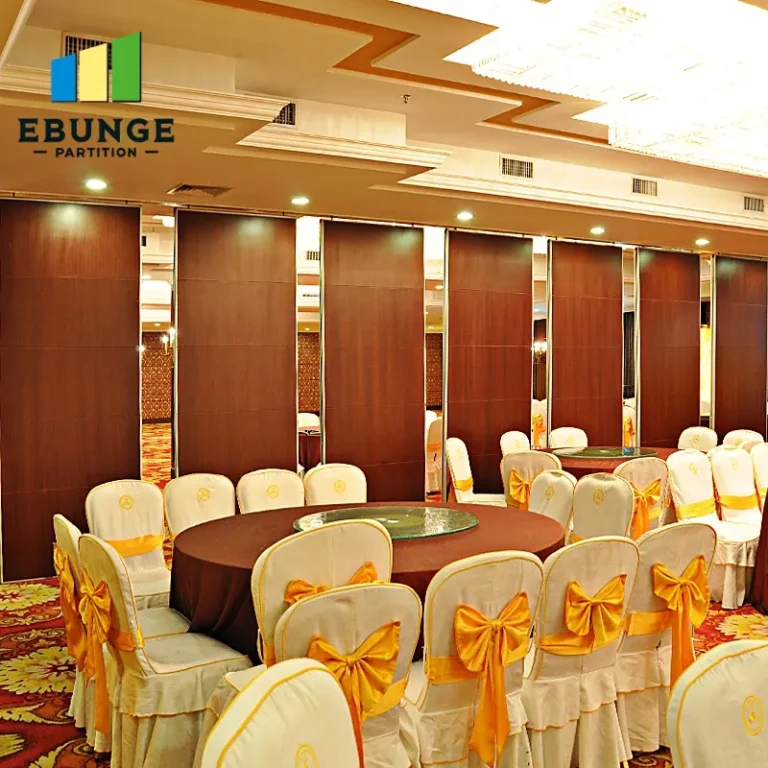
Need help turning the school sliding partition installation requirements into a practical project layout?
Key Technical Specifications to Request from Your Supplier
To ensure your school sliding partition installation meets expectations, obtain the following from your supplier in writing: the track profile and material (usually extruded aluminum), the panel thickness and weight per square meter, the type of suspension trolleys, and the operating mechanism (manual or motorized). For a school hall, manual operation is common, but if panels are large, a motorized system might be necessary—this has implications for electrical supply and control systems. Also, ask for the minimum ceiling height and the required headroom above the opening, as this affects the building design.
Acoustic Insulation: Matching Performance to Hall Usage
Acoustic partition solutions are a key consideration for school halls, which may need to host music classes, examinations, or assemblies simultaneously. The acoustic rating (e.g., Rw dB) is determined by the panel construction, perimeter seals, and the gap between the partition and the ceiling or floor. For a school, you might need a rating of 40-50 dB to prevent sound leakage. However, the actual performance depends on the flanking paths—sound can travel through the ceiling void or adjacent walls. Therefore, you must coordinate with the acoustic consultant and ensure that the partition’s seals align with the floor and wall surfaces. The supplier should provide test data, but always verify that the installation conditions match the test configuration.

Fire Safety and Building Code Compliance
School buildings are subject to strict fire safety regulations. Your movable partition wall may need to comply with fire resistance ratings, depending on its location and the occupancy load. In many jurisdictions, partitions that divide a hall into two separate fire compartments must have a fire-resistance rating of at least 60 minutes. The supplier must provide documentation proving that the partition system meets local building codes. Also, consider the operation of the partition during an emergency: it should be easy to open and close, and any electrical controls must have a manual override. The installation must not obstruct fire escape routes or fire-fighting equipment.
Site Coordination: Preparing the Hall for Installation
Installation risk is highest when site coordination is poor. Before the installation team arrives, ensure that the hall is cleared, the floor is level, and the ceiling structure is ready. The installation timeline typically spans 2-5 days, depending on the number of panels and complexity. You should schedule the installation during a school holiday or vacation to minimize disruption. Also, coordinate with other trades: the electrical contractor should have installed any power outlets for motorized systems, and the HVAC ducts should not obstruct the track path. A pre-installation meeting with the supplier, the school’s facilities manager, and the general contractor is highly recommended.
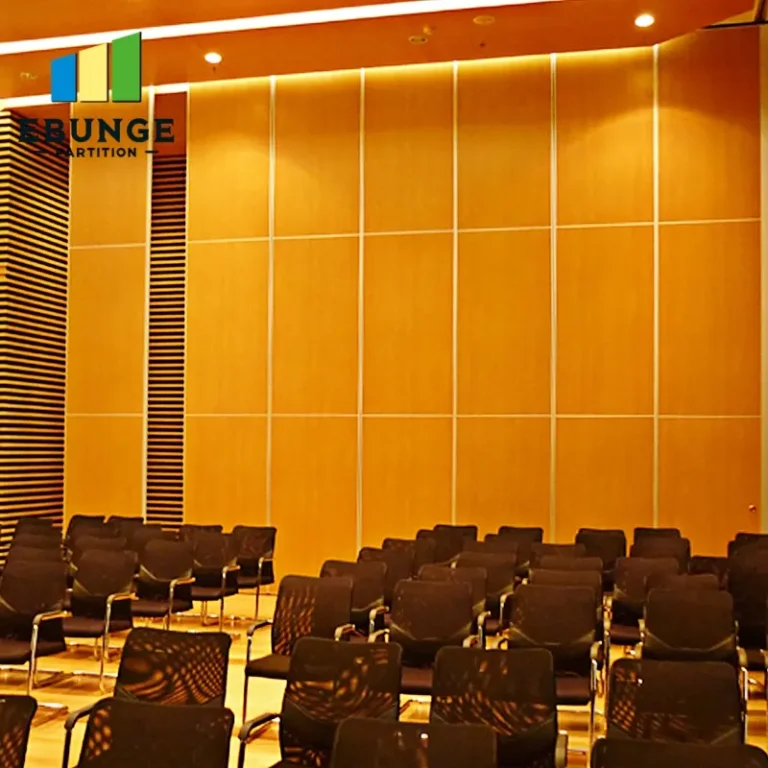
Share the opening, drawings, finish direction, and privacy target for a project-specific review.
Ease of Operation and Maintenance Requirements
After installation, the school staff will operate the partition daily. So, ease of operation is crucial. For manual systems, the panels should glide smoothly with minimal effort, even for a teacher. The track should have a self-cleaning mechanism or be easy to vacuum. Wear parts, such as trolley wheels and seals, will need periodic replacement—ask the supplier about the expected lifespan and availability of spare parts. A maintenance schedule should be provided, and you should train the facilities team on basic checks, such as inspecting the track for debris and lubricating moving parts annually.
Warranty and After-Sales Support: What to Look For
A reliable school sliding partition installation supplier will offer a clear warranty on parts and workmanship. While we cannot specify typical terms, you should ask for the warranty duration, what it covers (e.g., mechanical components, seals, finish), and the process for claims. Also, inquire about after-sales support: Is there a local service team? What is the response time for repairs? For a school, downtime is not acceptable, so a service agreement might be worthwhile. Always read the warranty document carefully and ensure that your installation is performed by the supplier’s certified team to keep the warranty valid.
Creating a Quotation-Ready Brief for Your Supplier
To get an accurate quotation, you must provide the supplier with a complete brief. This includes the opening size (width and height), the number of panels and stacking space, the desired acoustic rating, the finish (e.g., whiteboard, tackable, or painted), and the operation type. Also, share your project location and site access details—for example, whether the hall is on the ground floor or has a lift for delivering panels. The more information you give, the fewer surprises later. Use the following checklist to ensure nothing is missed:
| Item | Details to Provide |
|---|---|
| Opening size | Width, height, and thickness of wall |
| Ceiling structure | Beam type, load capacity, and fixing points |
| Acoustic target | Required Rw dB and test conditions |
| Fire rating | Local code requirement (e.g., 60 min) |
| Finish preference | Color, material, and surface function |
| Operation | Manual or motorized, control location |
| Site access | Delivery route, lift, parking, and storage |
| Timeline | Preferred installation dates and school holidays |
By preparing this brief, you not only streamline the quotation process but also demonstrate your professionalism, which can lead to better support from the supplier.
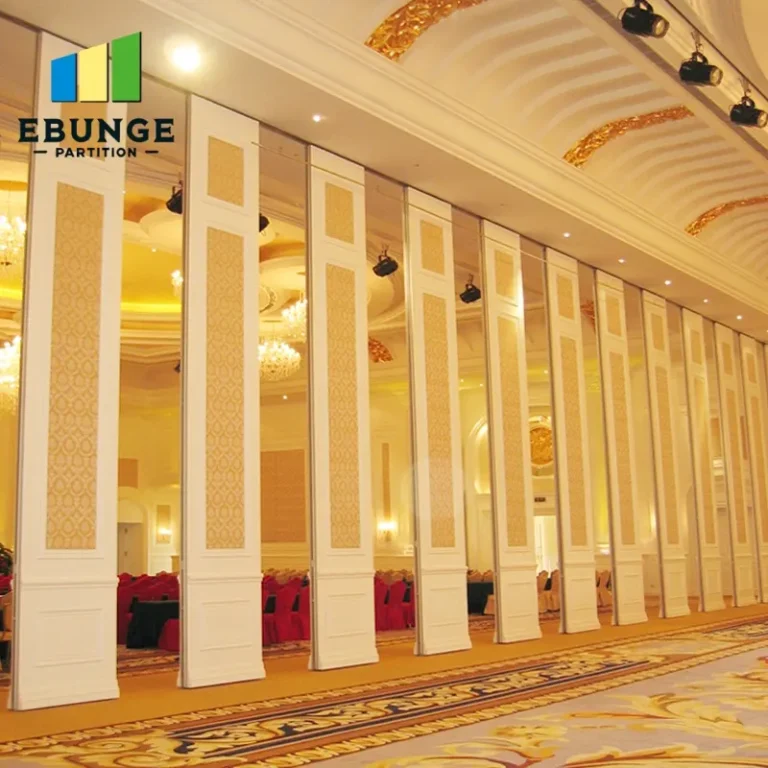
Conclusion: Making Your School Sliding Partition Installation a Success
In summary, a school sliding partition installation requires attention to structural, acoustic, fire, and operational details. By focusing on beam support, track layout, and site coordination, you can mitigate installation risks and ensure a durable, functional partition. Remember to share your opening size, drawings, acoustic target, finish preference, and project location with your supplier to get a precise quotation. With the right preparation, your operable wall system will serve the school for decades, providing flexibility for events, classes, and examinations.
Frequently Asked Questions
What is the typical installation timeline for a school sliding partition?
The timeline depends on the number of panels and site conditions, but a typical installation takes 2-5 days. It’s best to schedule during school holidays to avoid disruption.
Can a sliding partition be installed without a floor rail?
Yes, top-hung track systems do not require a floor rail, which is ideal for school halls to ensure a flat, safe floor surface. This also simplifies cleaning and accessibility.
How do I ensure the partition meets acoustic requirements?
Specify the required Rw rating and ensure the supplier provides test data. Also, coordinate with an acoustic consultant to address flanking paths, such as ceiling voids.
What fire safety regulations apply to movable walls in schools?
Local building codes dictate fire-resistance ratings. For partitions dividing a hall into compartments, a 60-minute rating is common. Verify with your supplier and local authority.
What maintenance is required after installation?
Regularly inspect the track for debris, check trolley wheels and seals, and lubricate moving parts annually. The supplier should provide a maintenance guide.
For more insights on movable partition walls, visit our movable partition wall page or explore our blog for technical articles. If you need specific guidance, contact our team or review other installation resources.
Send the opening size and drawings to discuss a differentiated school sliding partition installation solution.